

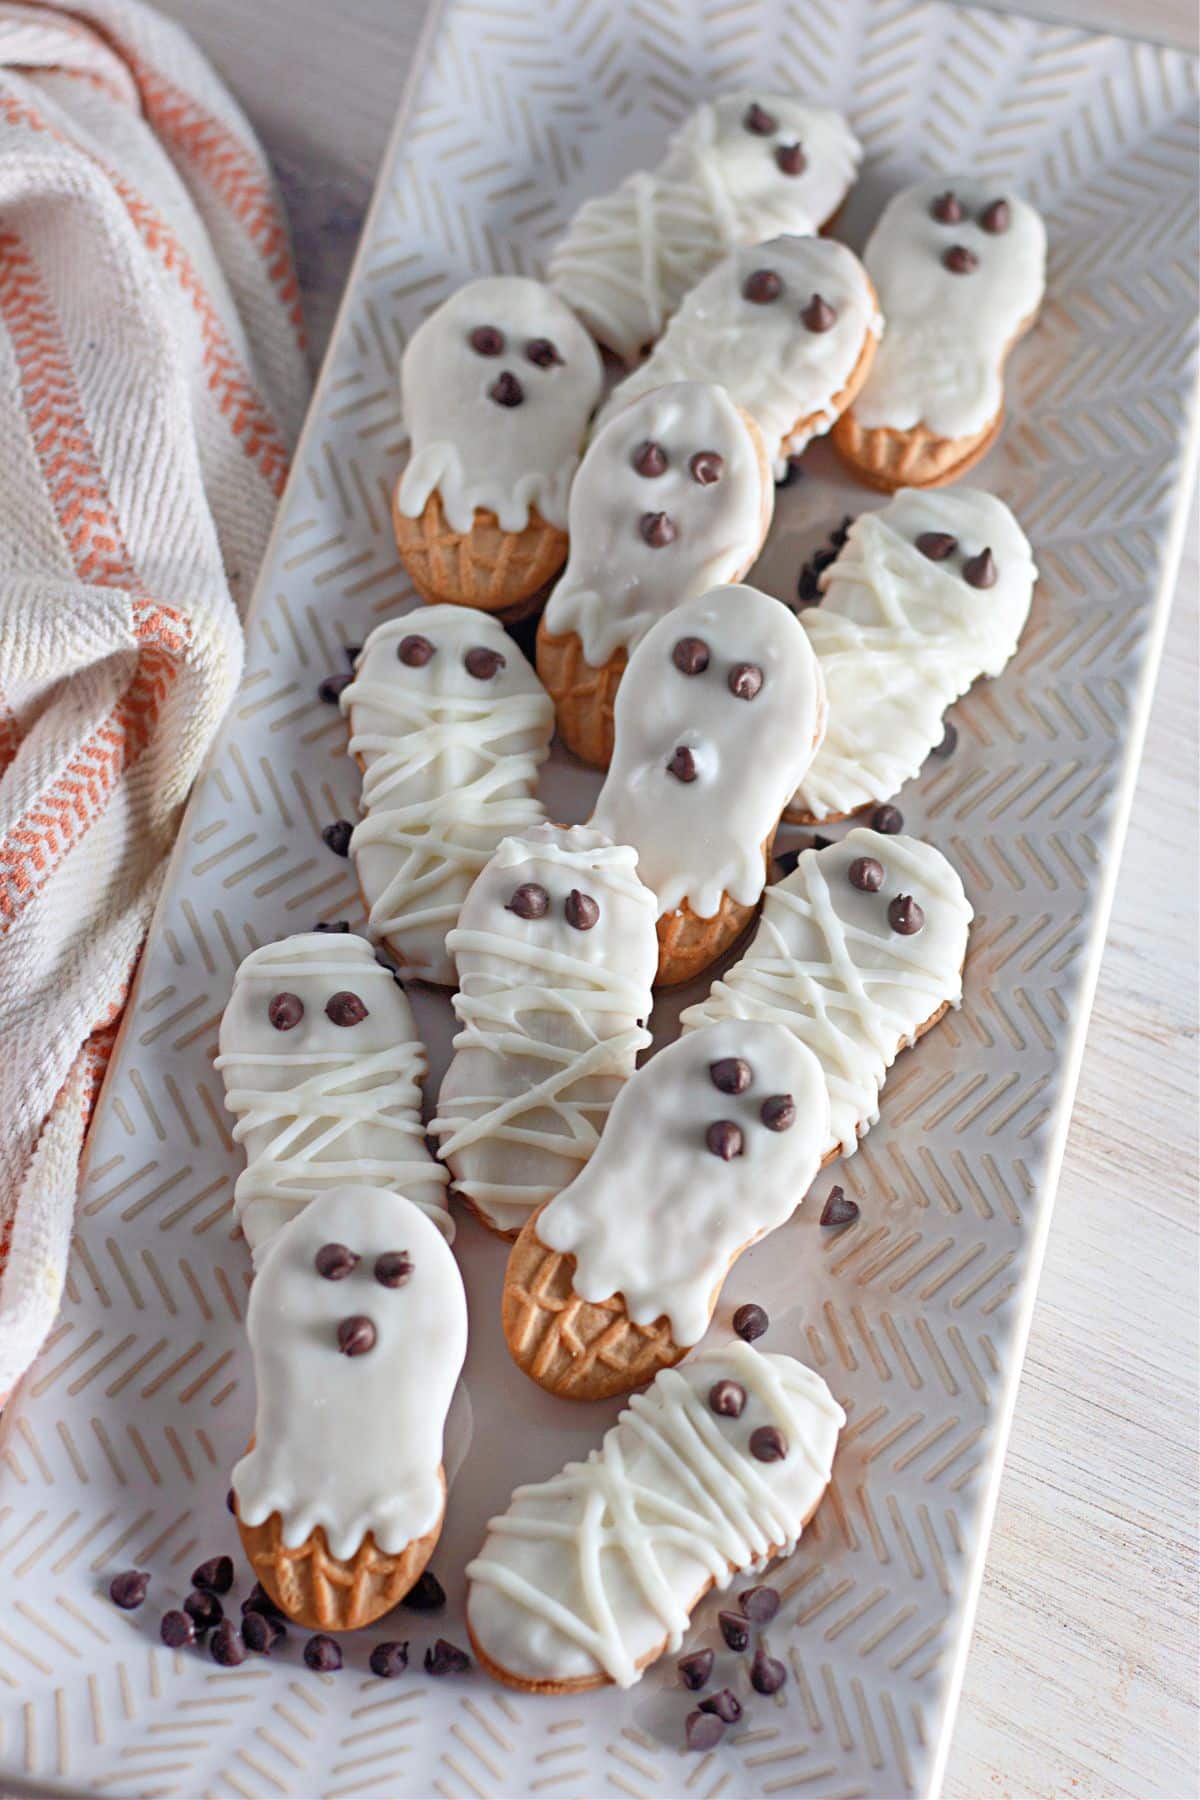
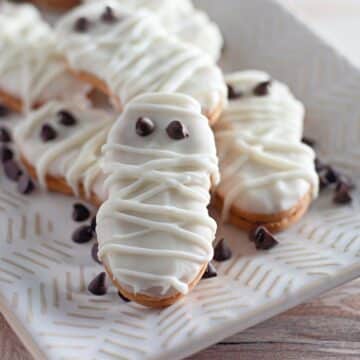
We all like Nutter Butter Peanut Butter Cookies right? Not only are they delicious, they are perfect for making Halloween treats like these Mummy Cookies and Ghost Cookies!

These fun cookies are a perfect treat to make with the kids, for Halloween parties, and office goodies.
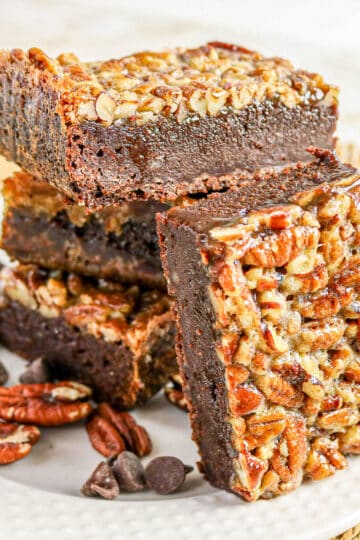
If you haven't tried brownies made with Nutter Butter cookies, you just might want to give them a try. Super simple and yummy! And this delicious no bake pumpkin cheesecake is a perfect Halloween treat.
Table of contents
Recipe Ingredients
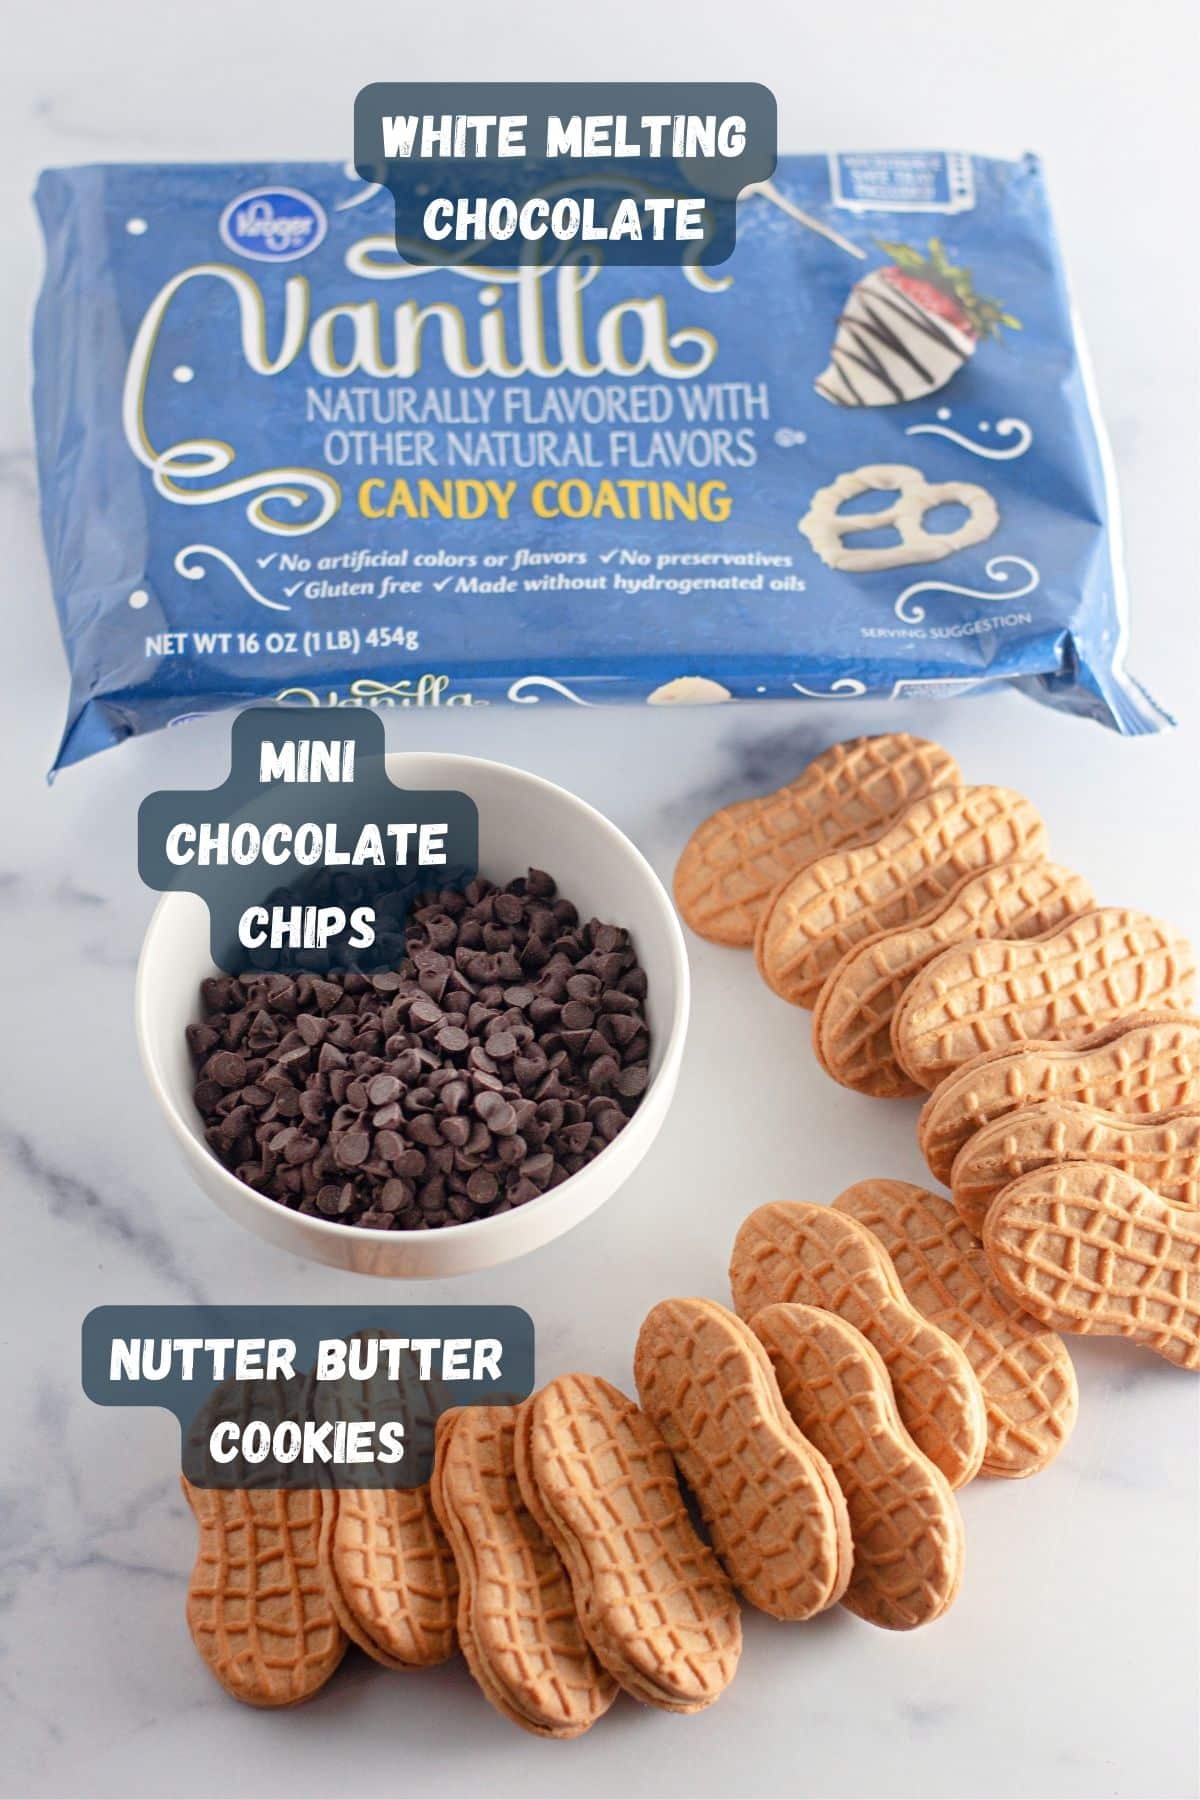
- Nutter Butter Peanut Butter Sandwich Cookies
- White Melting Chocolate or Vanilla Candy Coating
- Mini Chocolate Chips
Step-by-Step Directions

Have everything ready. Nutter Butter cookies, mini chocolate chips, and white melting chocolate.
Melt the white candy coating according to the package directions.
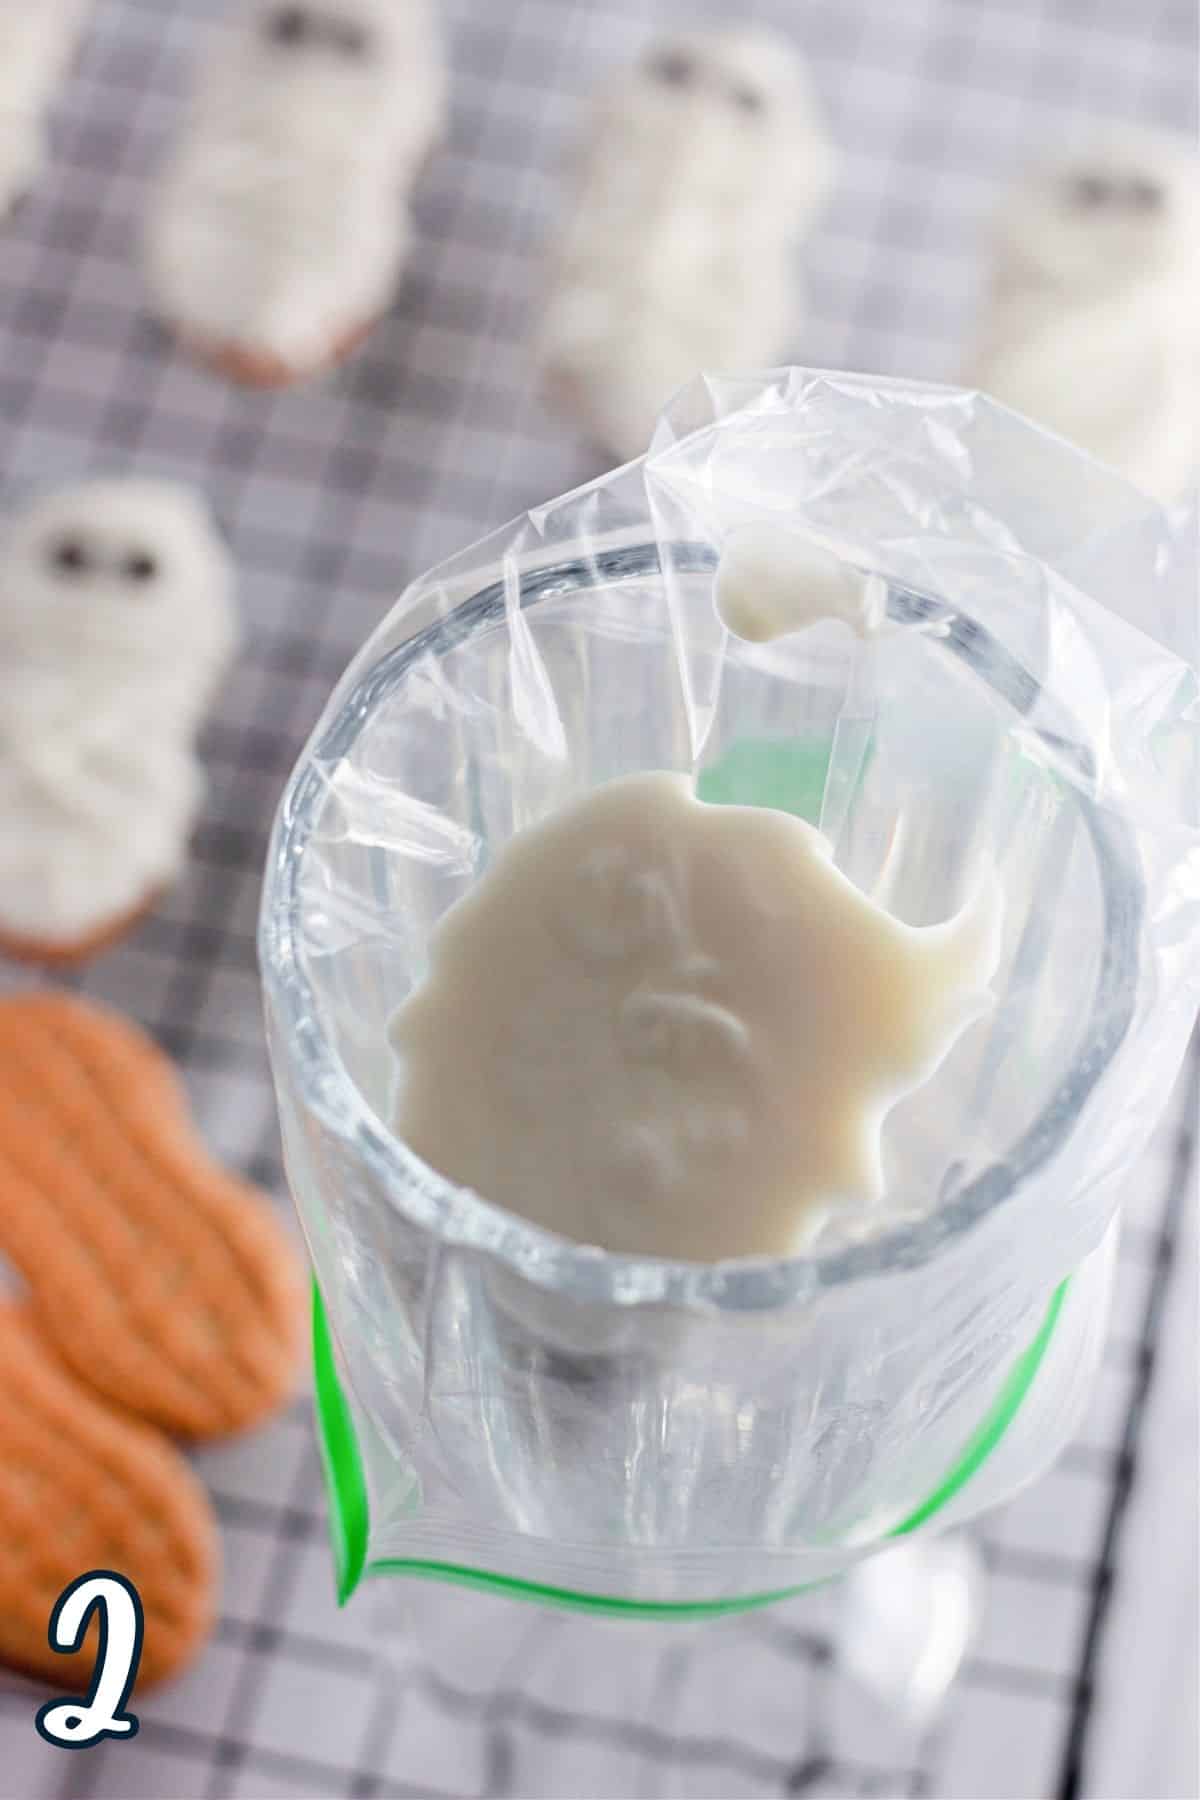
Scoop about ⅓ of the melted candy coating into a small plastic bag, or piping bag. You may want to keep the bag in a bowl of warm water until ready to use to keep it from setting up.
A Zip-Loc or sandwich bag is perfect for piping the mummy wrappings. Or, you can use a piping bag. The bag is easier to fill if you place it in a glass first.

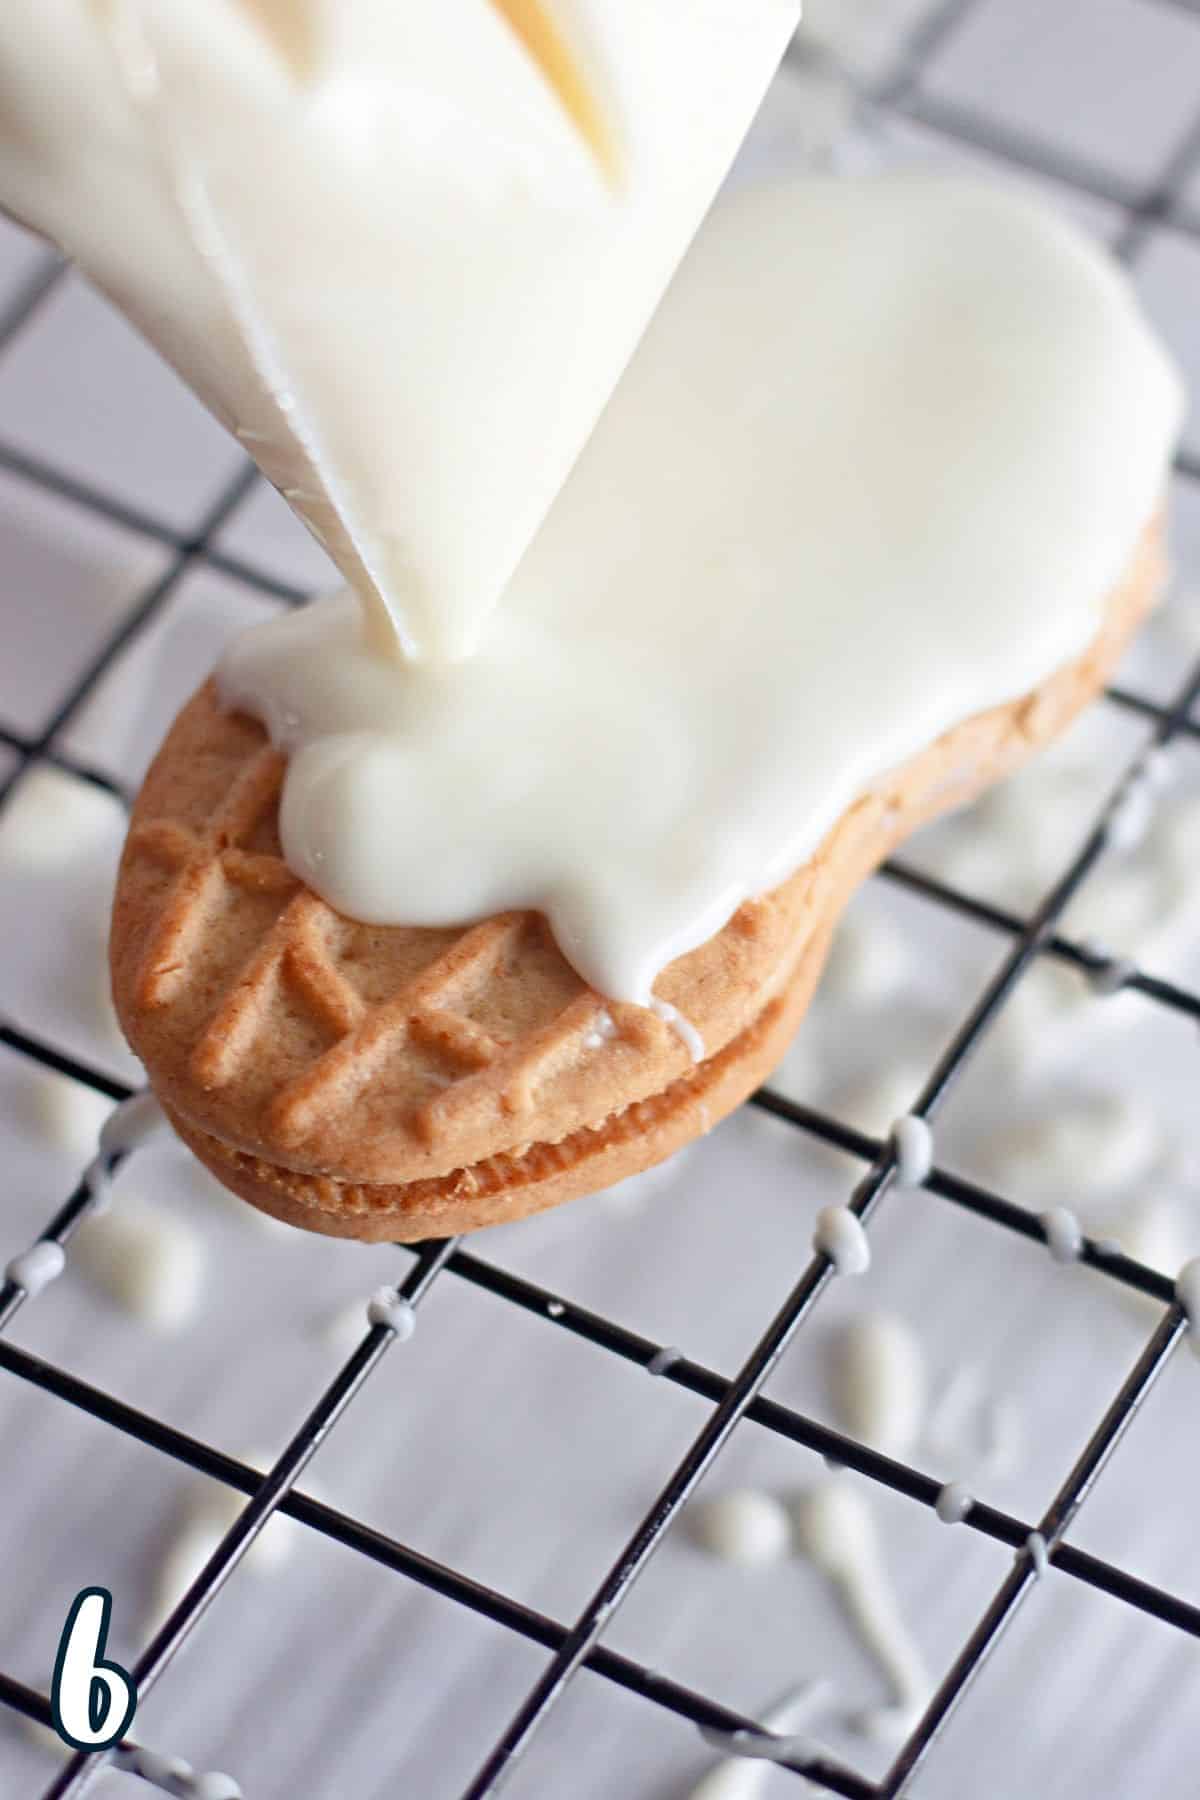
Melt the white chocolate candy coating per the package directions. Dip one side of a Nutter Butter cookie in the coating for the mummy cookies.
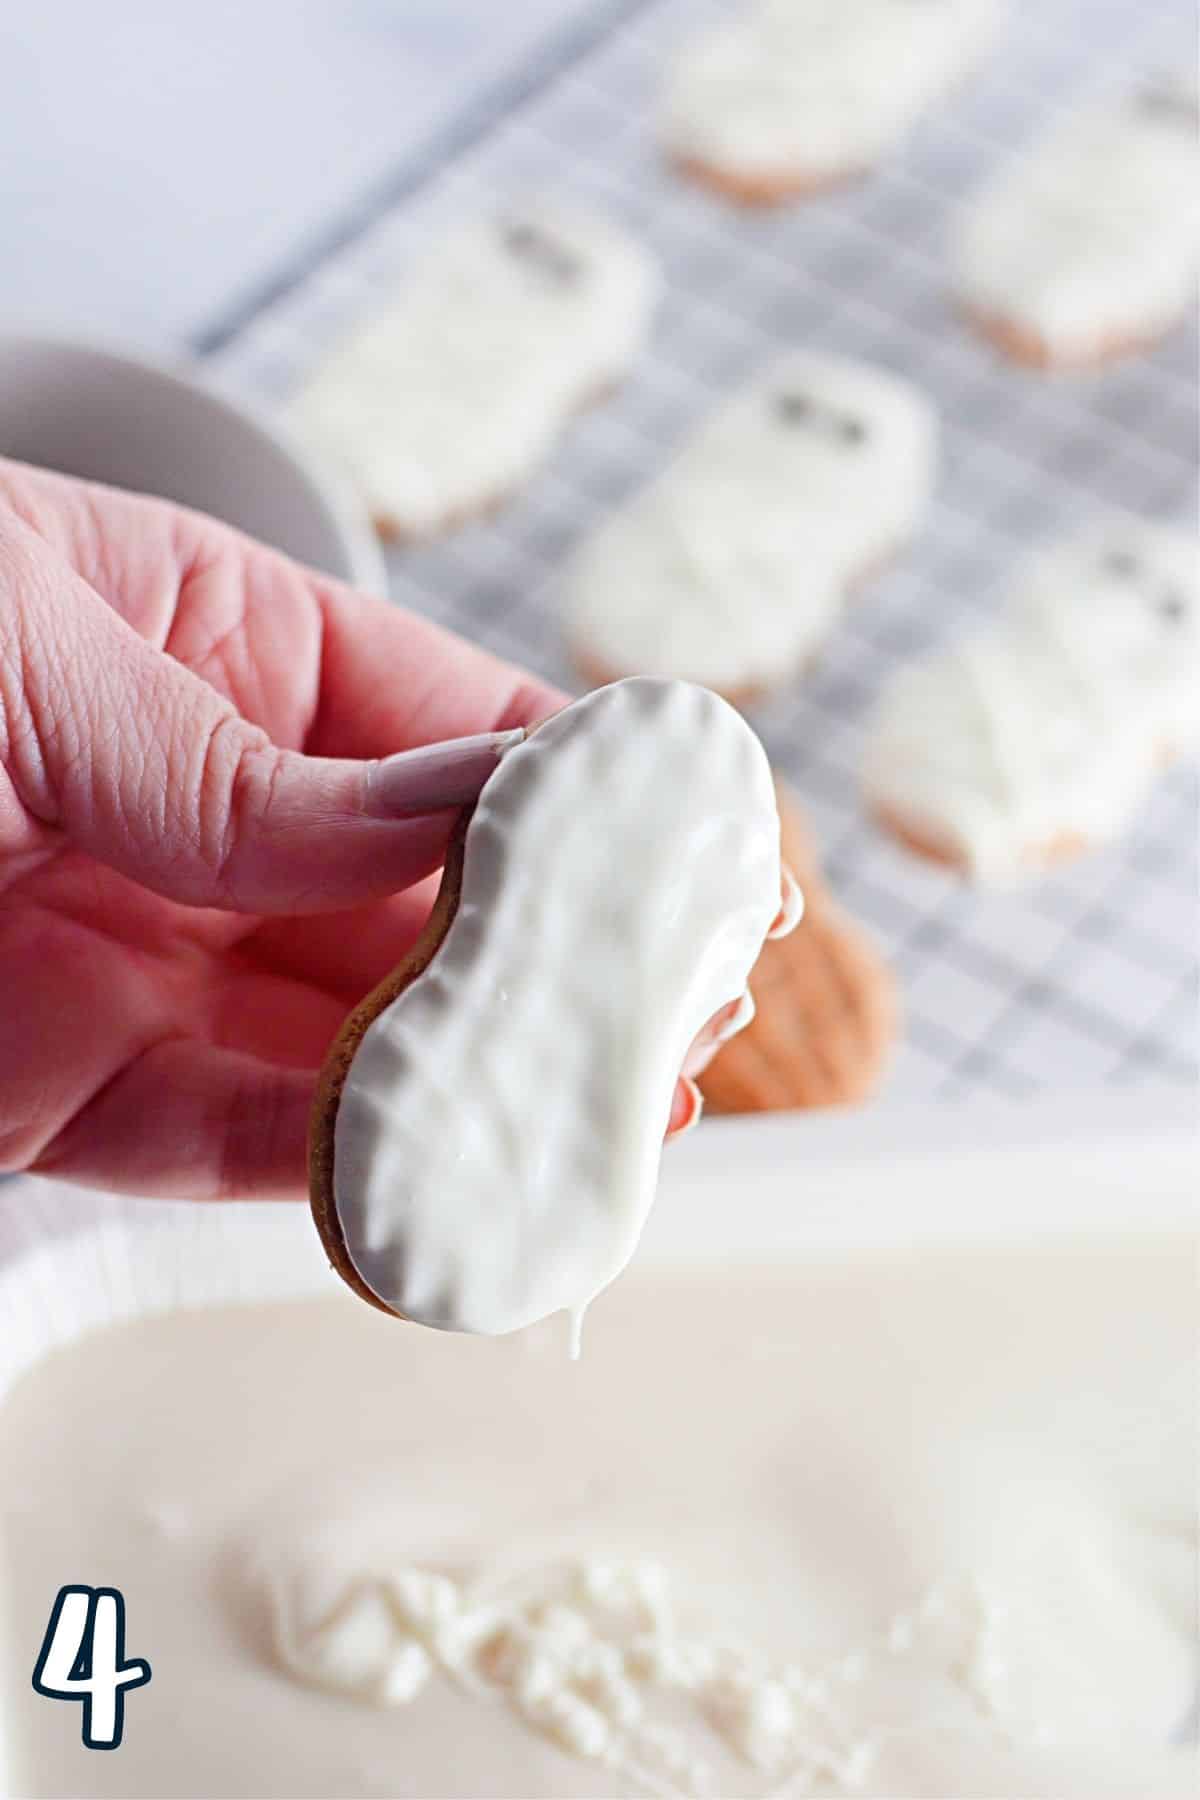
Place the dipped cookies on a wire rack to allow any excess candy to drip away.
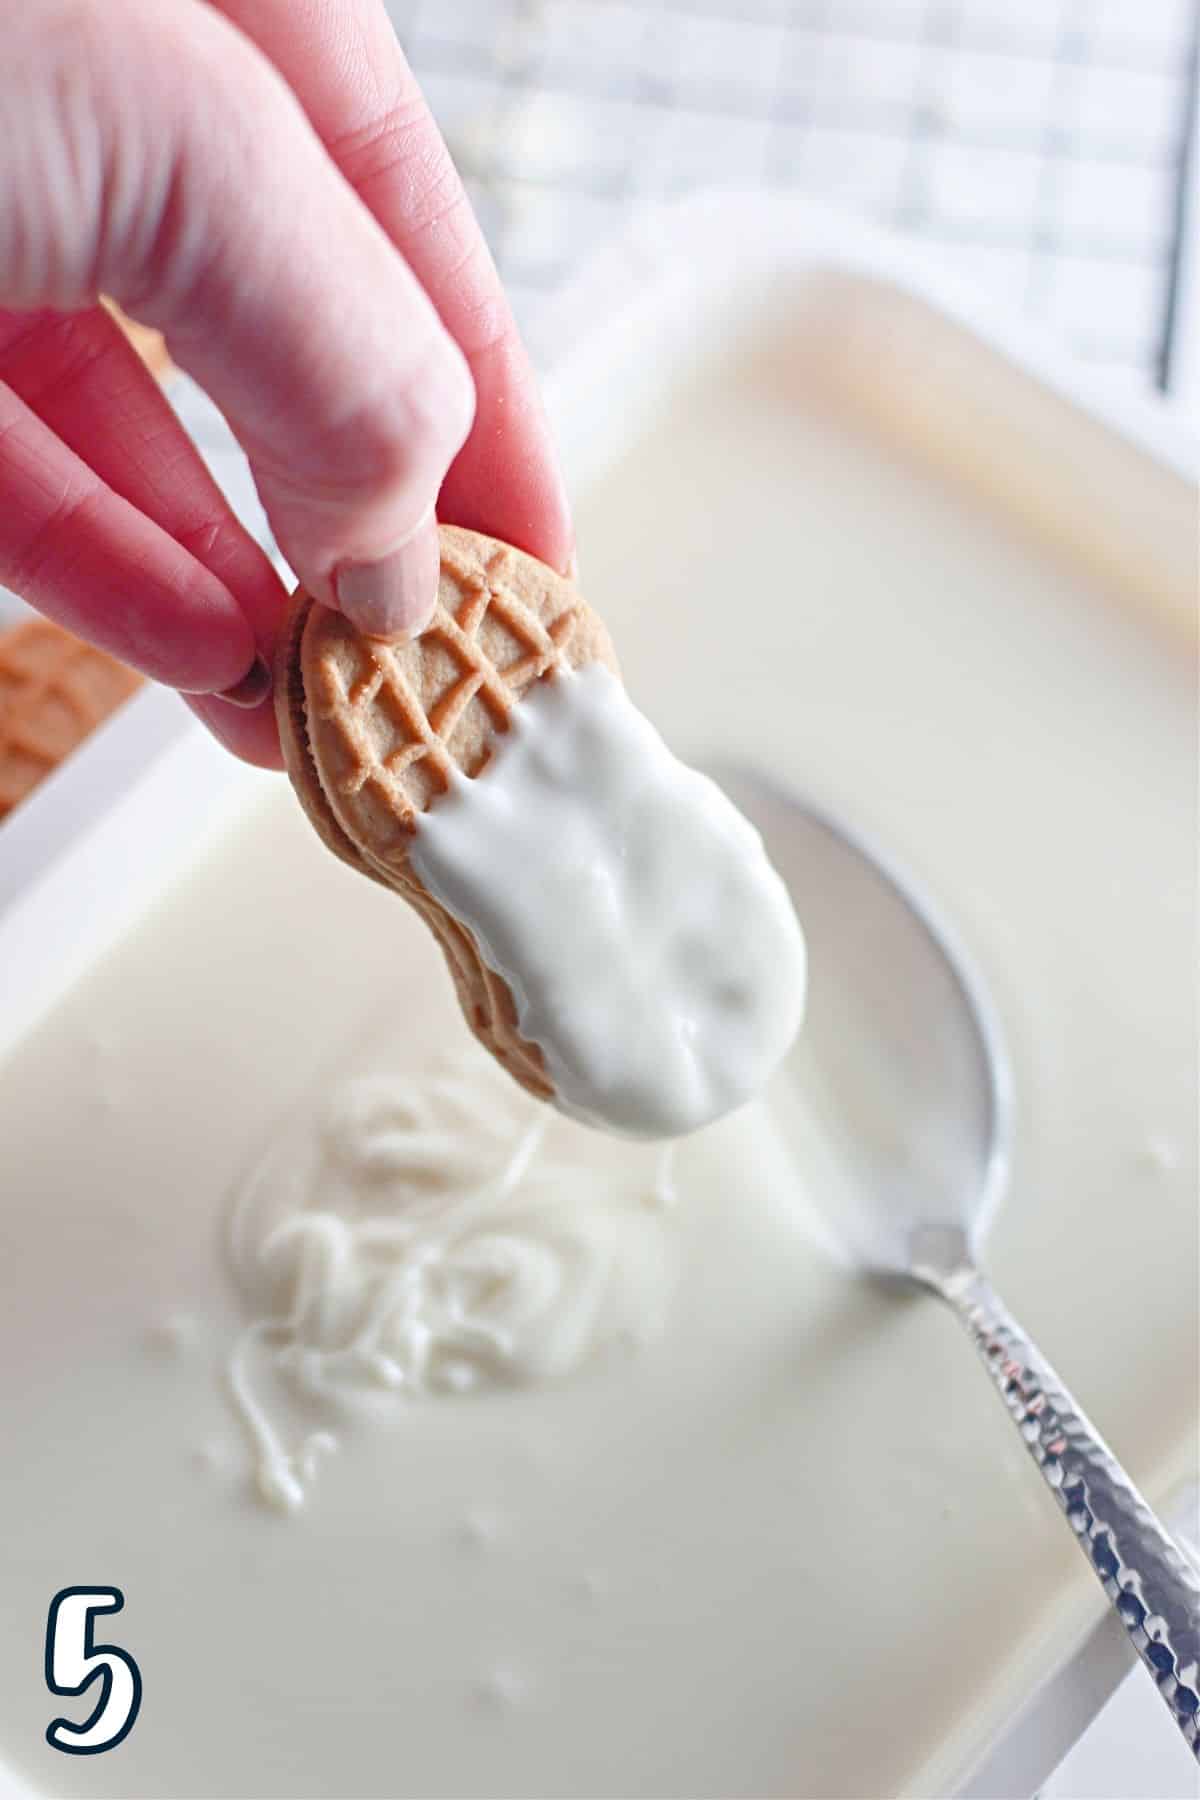
To make ghost cookies, only dip about ⅔ of the cookie into the melted coating. Use a spoon to help with this part if necessary.
Then you can use the piping bag to finish the bottom of the ghost to give it that floating look.
Save this recipe?
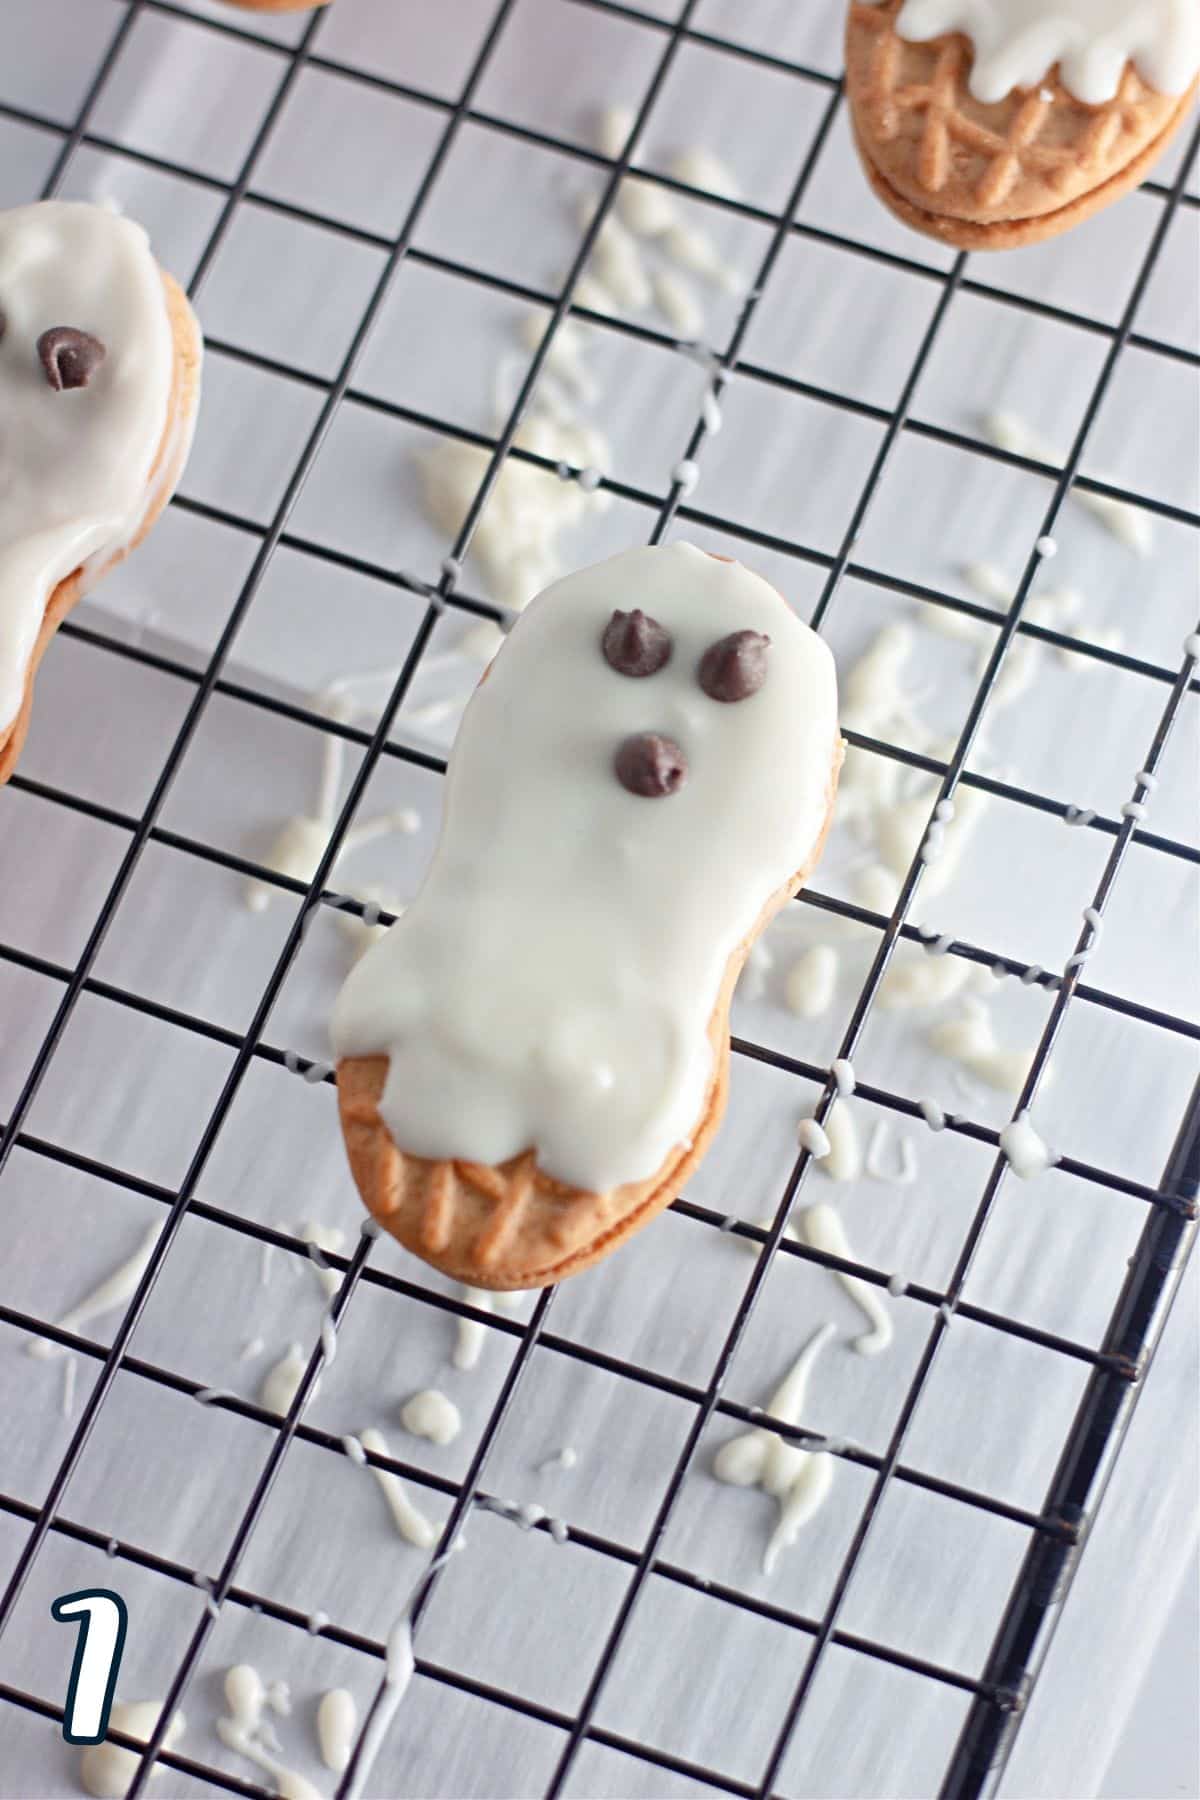
Next, use the mini chocolate chips to make the eyes and mouth for the ghost cookies, and just eyes for the mummy cookies.
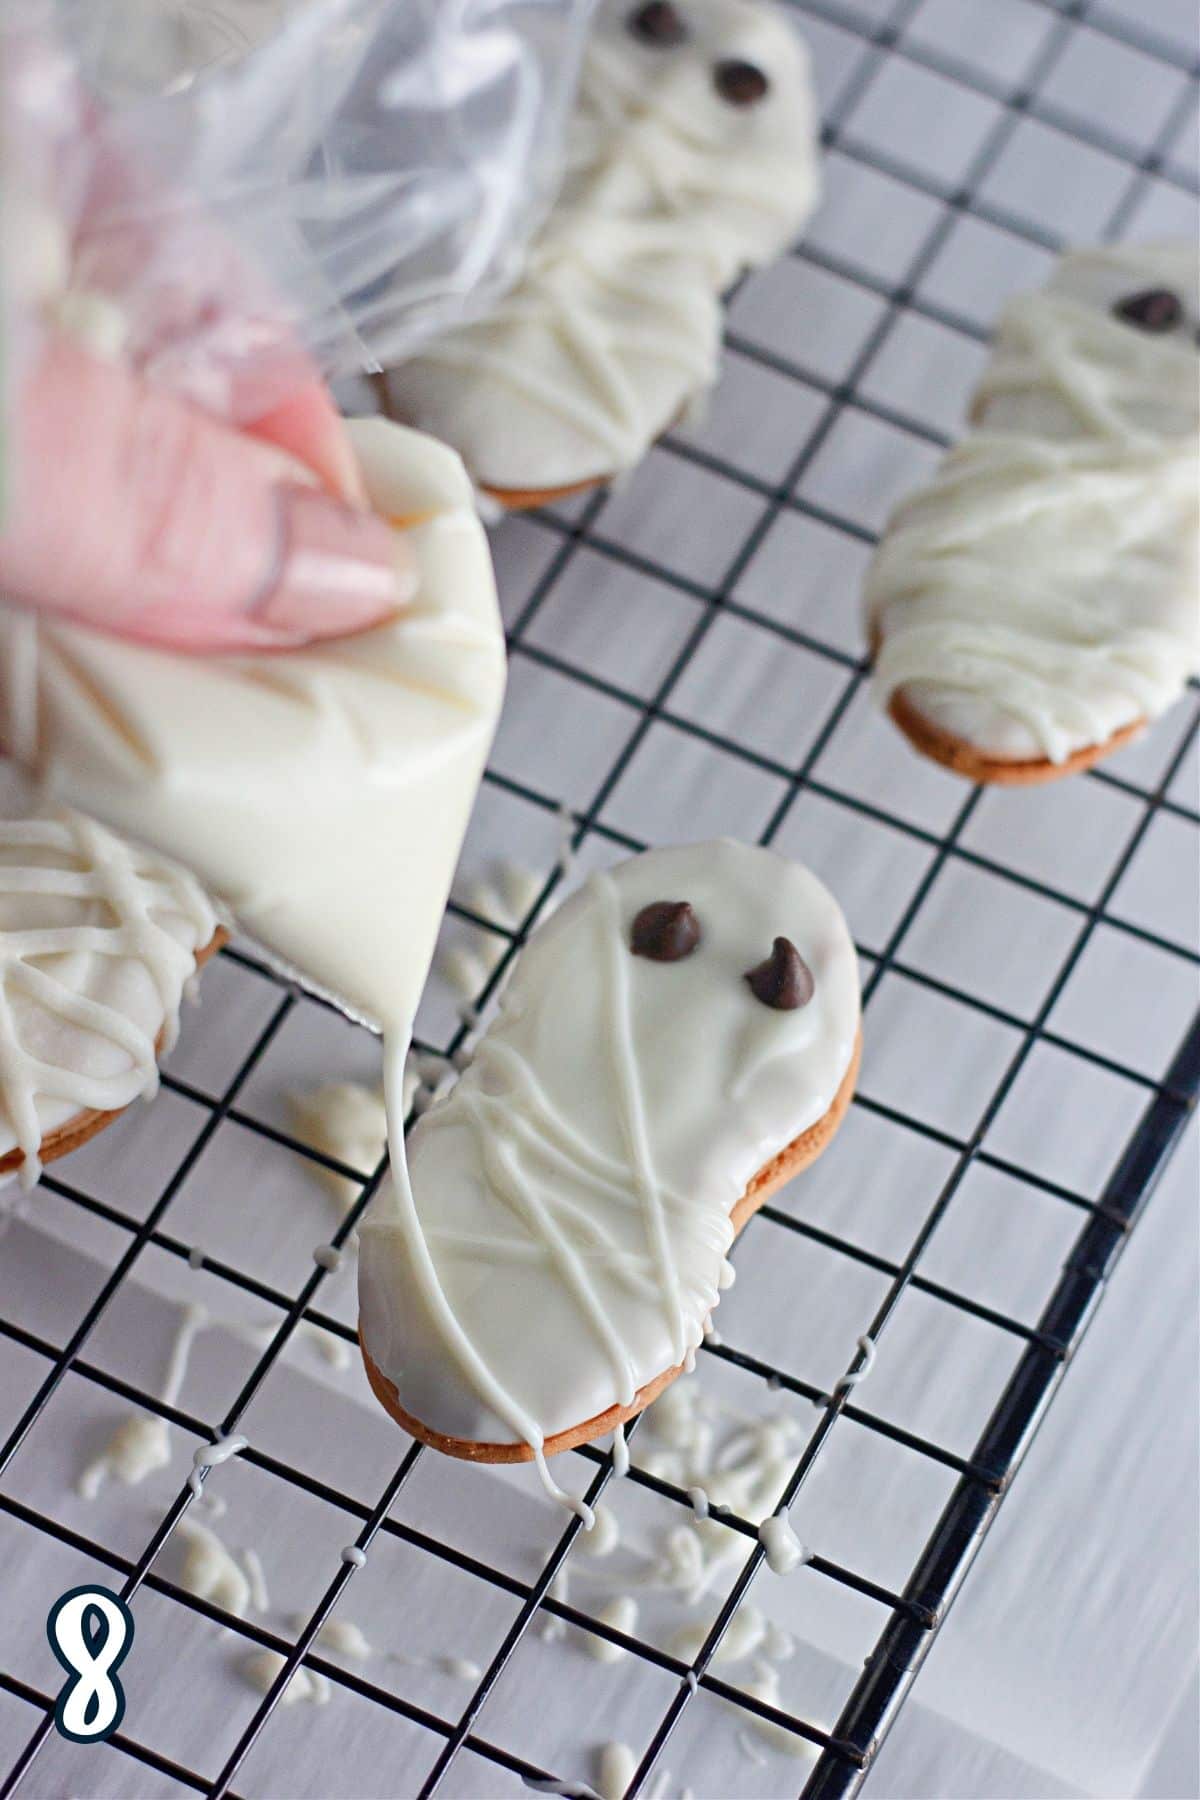
Once the base coat of candy has set, you can use the piping bag to make the mummy wrappings.
Tools needed for this recipe
- Zip-Loc Bags - You can use a piping bag if you prefer, but small Zip-Loc or sandwich bags are perfect for simple clean up.
- Scissors- You will need scissors to clip the end of the baggie.
- A Wire Rack - Parchment paper can also be used, but the wire rack helps prevent any pooling of the white chocolate.
Tips
- Make sure you use a white chocolate that melts easily and smoothly. White chocolate bars and chips are not really good choices.
- You will want to work in batches since the candy coating sets up quickly. You can probably coat about 6 cookies each time.
- Save the piping of the mummies for the final step. It is best to have the base coat set up before doing the piping of the mummy wrappings. Otherwise, the wrappings will just blend in with the rest of the white chocolate.
- Candy eyes may be used in place of the mini chocolate chips if you prefer.
- Keep the piping bag of melted white chocolate in a glass of warm water to prevent it from setting up while you work on the rest of the cookies.

Have a little fun with the kids this Halloween and give these Nutter Butter Halloween Cookies a try. The ghost cookies and mummy cookies are as much fun to eat and share as they are to make.
Other cookie recipes you might like
You must use the category name, not a URL, in the category field.Find all my recipes on Pinterest at Cook This Again. Or, on Facebook at Cook This Again.
Do you love this recipe? Please leave a 5-star 🌟🌟🌟🌟🌟rating on the recipe card below & a review in the comments section further down the page.
Complete Recipe
Nutter Butter Halloween Cookies
Ingredients
- 16 ounces White Melting Chocolate or Vanilla Candy Coating
- 16 ounces Nutter Butter Cookies
- 2 tablespoons Mini Chocolate Chips
Instructions
- Melt the white candy coating according to the package directions.
- Scoop about ⅓ of the melted candy coating into a small plastic bag, or piping bag. You may want to keep the bag in a bowl of warm water until ready to use to keep it from setting up.
- Dip one side of each cookie into the melted candy coating to make the mummy cookies.
- Cover about ⅔ of each cookie to make the ghost cookies.
- Place dipped cookies on a wire rack to keep any drippings from pooling around the cookie.
- Use scissors to trim a very tiny bit from one corner of the plastic bag that contains the melted candy coating.
- Use piping bag to make the ghosts by piping a little bit more of the coating along the bottom edge of the dipped portion to make the ghosts appear to be floating. This works best if done before the melted candy coating on the cookie has set.
- Use mini chocolate chips to make the eyes for both the ghost cookies and mummy cookies. Use another chip to make the mouth on the ghost cookies.
- Once the candy coating on the cookies has fully set (meaning, it is firm to the touch and no longer melted), use the piping bag of melted candy coating to pipe lines across the mummy cookies in different directions to resemble mummy wrappings.
- Allow the candy coating to set at room temperature before serving.
Notes
- Make sure you use a white chocolate that melts easily and smoothly. White chocolate bars and chips are not really good choices.
- You will want to work in batches since the candy coating sets up quickly. You can probably coat about 6 cookies each time.
- Save the piping of the mummies for the final step. It is best to have the base coat set up before doing the piping of the mummy wrappings. Otherwise, the wrappings will just blend in with the rest of the white chocolate.

Leave a Reply